
I made this two-tiered cake for my niece’s christening. For all family events the cake of choice has always been the basic butter cake from the Australian Women’s Weekly Children’s Birthday Cake Book. Because of this tradition we always just called it ‘birthday cake’.
So I was planning to make this ‘birthday cake’ and thought I would have to convert the recipe myself. Luckily I hopped onto the Recipe Community and found someone had already beaten me to it. Click here for the AWW Basic Buttercake on the Recipe Community.
I still had my AWW cookbook out and saw there were some differences in quantities for some ingredients. I have no idea how old my cookbook is. It’s my mums and I remember my 4th birthday cake so it definitely over 25 years old, so maybe the quantities had changed over the years. But since this was the recipe I had made for many years I wasn’t going to try different quantities. So here’s the tweaks I made – 110g sugar, 85g milk and 265g self raising flour and I increased the baking time to 35 minutes.
-

- My mum’s book at least 25 years old!
-

- ‘Birthday cake’
-

- Planet cake ganache
While I was baking the cakes I got started converting my Planet Cake’s ganache recipe for Thermomix. This ganache is perfect for covering cakes before covering with fondant. It was great to make with my Thermomix because for once I didn’t have to worry about burning the chocolate! You can view my recipe on the Recipe Community here.
Now back to the cakes. I made 4 batches to make 2 different sized cakes. After they were cooked and cooled it was time to cut the tops off for a flat and even surface and cut in half for a ganache middle.

The ganache needs to set for 8 hours or overnight. I had made it early in the morning so that night I began assembling my tiers.
-

- I started by spreading ganache to rejoin the cakes
-

- Then I covered the sides with ganache (including the cake board for the smaller tier)
-

- Then I covered the top with ganache
And then I was done for the night. I put the ganache covered cakes in the fridge and went to bed. You could speed up the process by freezing for a maximum of 10 minutes.
The first step the next day was smoothing the ganache. This is the most important step to ensure a smooth surface for the fondant. But it is also the most time consuming. You need a jug of boiling water and a long palette knife or bread knife. Leave the knife in the jug for a few seconds and once it’s hot smooth out the surface of the cake. Once smooth let the cake set for several hours or do another quick freeze.


The cakes were now ready to be covered with fondant. The first step is to make a syrup with apricot jam and boiling water. This will act as a glue for the fondant. Then it’s time to roll out the fondant. I always sprinkle icing sugar down first so the fondant doesn’t stick. Roll the fondant out big enough so that it will cover all of the cake but be careful not to roll too thin that it will tear when you lift it.
-
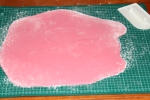
- Roll the fondant out as large as you need it
-

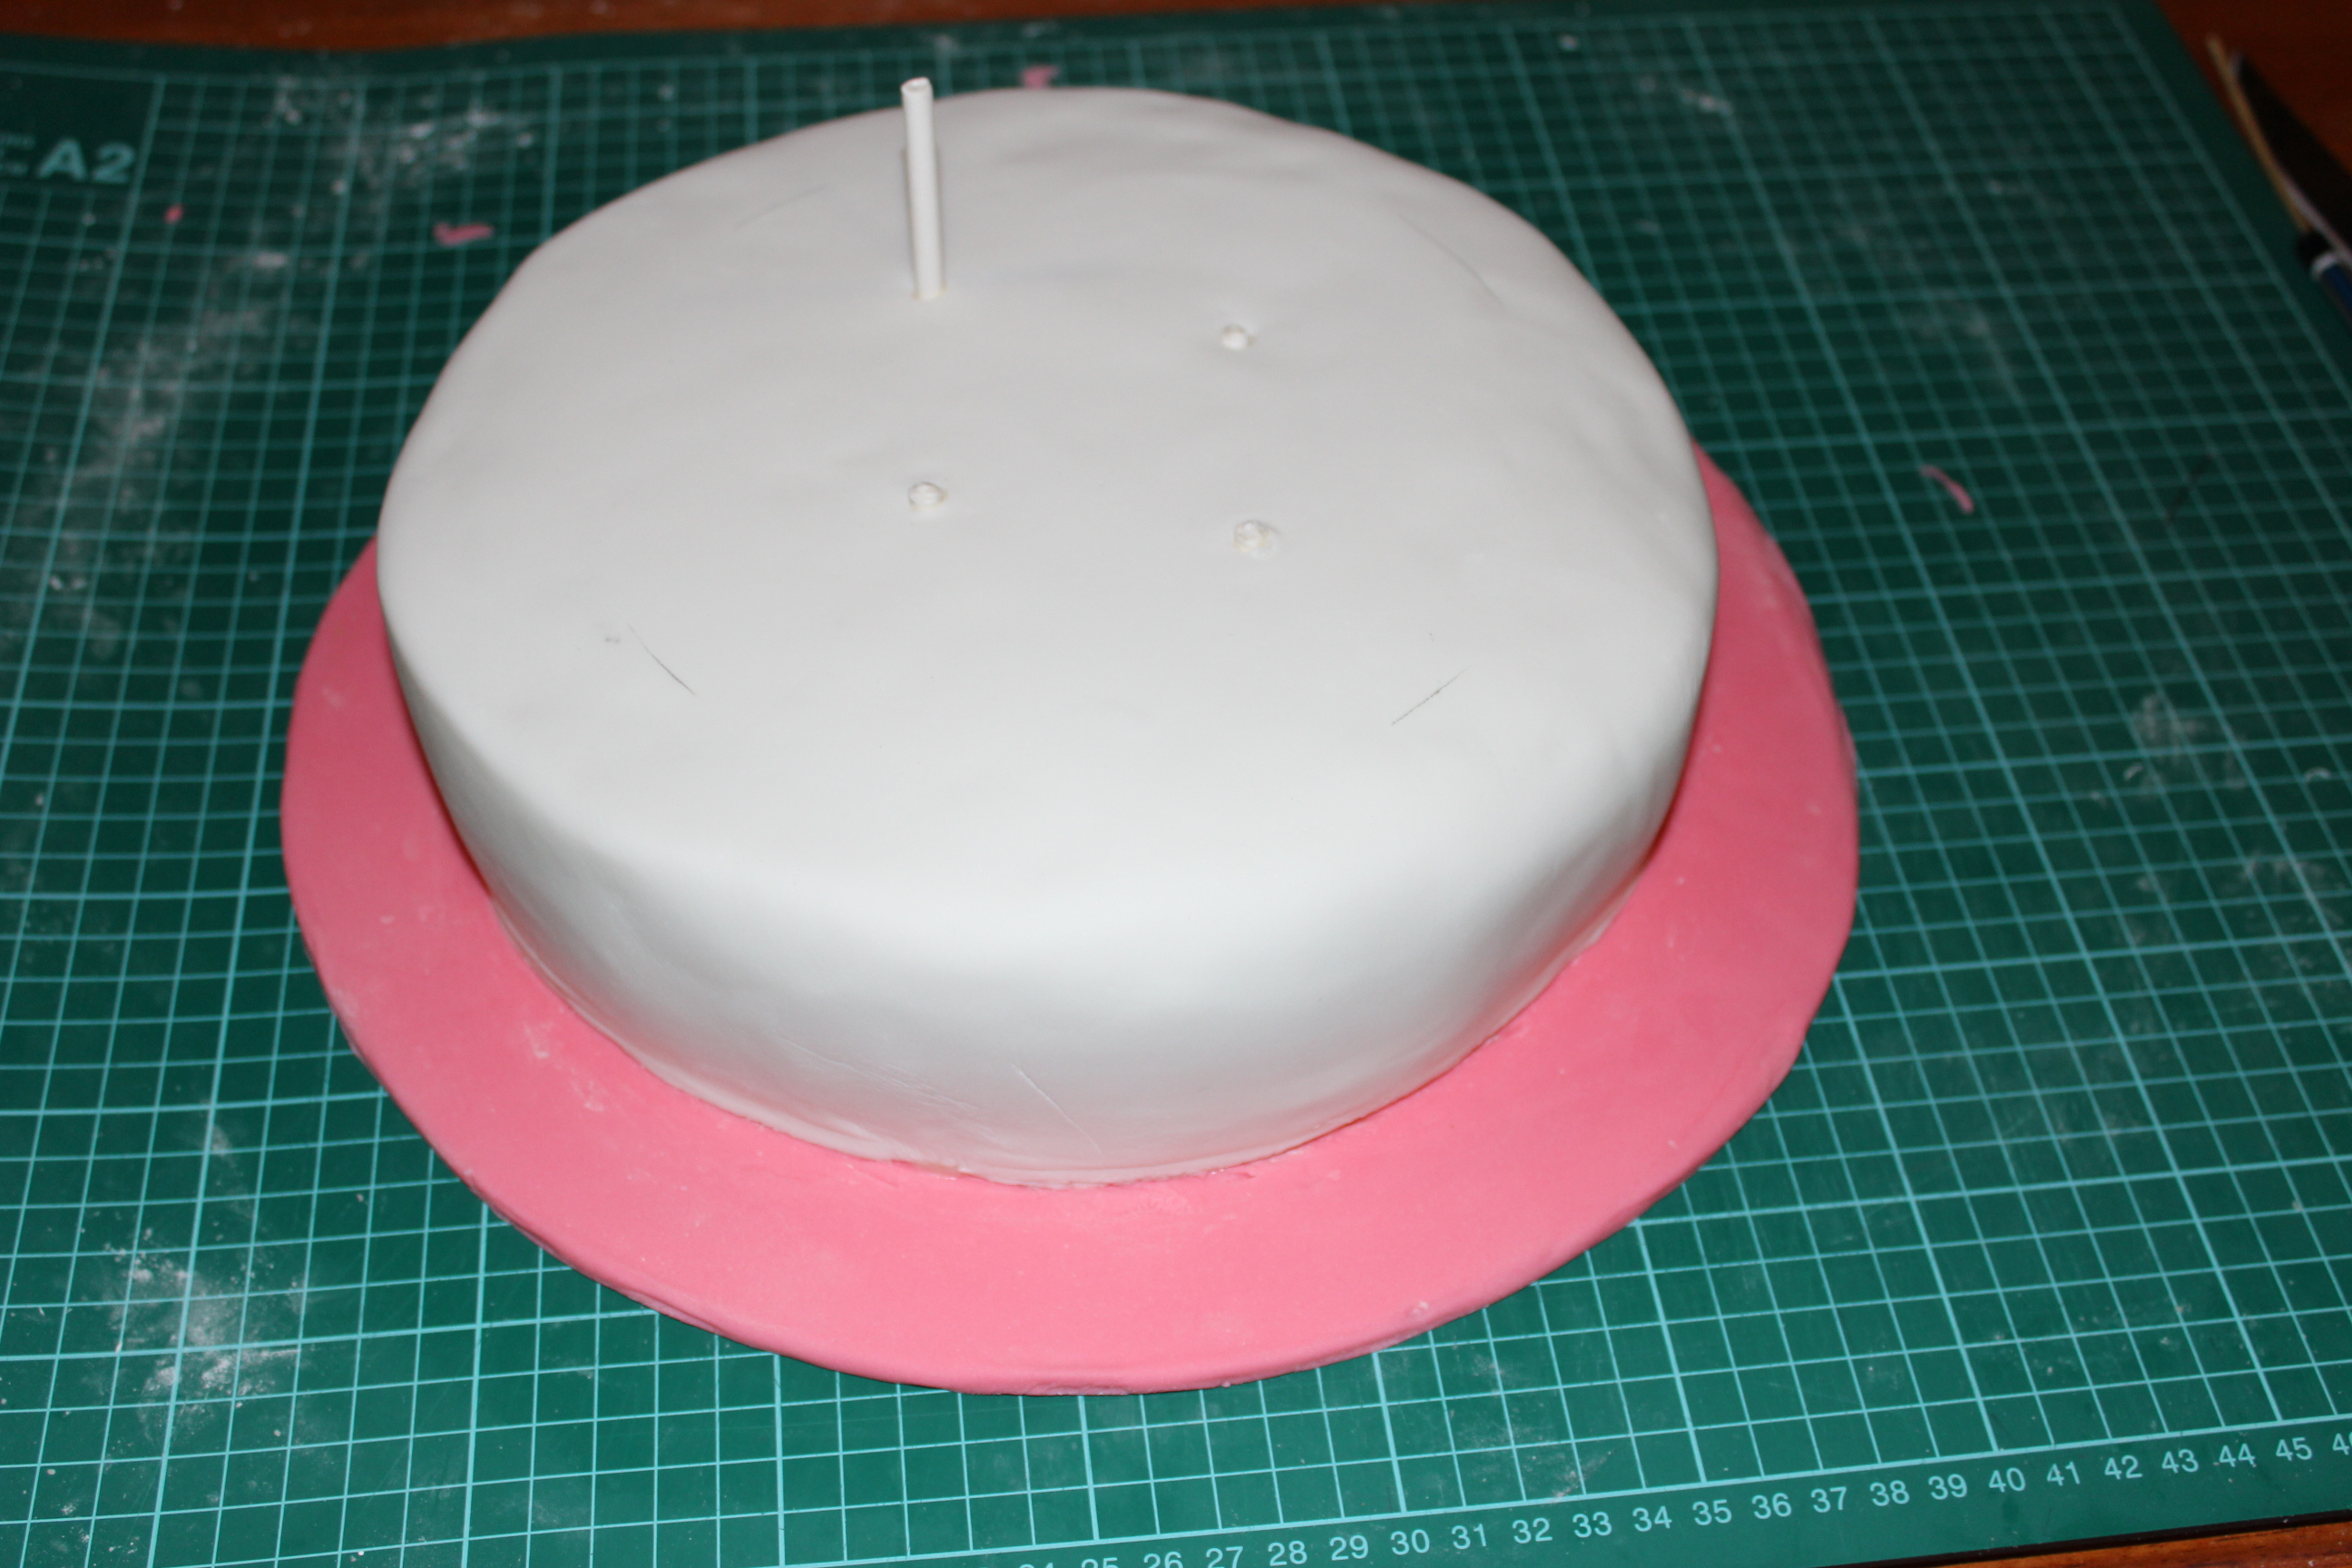
- Carefully lift it onto your cake and smooth the fondant around the cake
-

- Cut the excess off and then use a tool to smooth the fondant
After both cakes were covered with fondant it was time to assemble the tiers. This was my first time making a tiered cake. With the help of Google I knew I needed to support the tiers. I tried to find wooden dowels but the two shops I went to didn’t have any so I just ended up using cake pop sticks. I measured the size of the top tier using the cake pan on the bottom tier. Then I marked out four central support points. I first used a skewer to push through the first point and then put a cake pop stick in. I marked where it was level with the cake and removed it and cut it to size. I used this one as my original to measure out the other sticks and then placed each on in the bottom tier cake.
With my support system in place I assembled my tiers and started decorating my cakes.
-

- Tiers assembled and decorated
-

- Fondant ribbons were the finishing touch and helped hide all the messy joins
I didn’t put the cross on the top until the last minute just in case it wasn’t stable enough.
